Carving a Pumpkin with a Dremel
October is one of our favorite months. Carmel apple cider, cozy blankets, carving pumpkins.....there is so much to love about fall. A few years ago, Dan discovered the art of using a dremel to create pumpkin art. He LOVES to carve pumpkins so finding another carving toy was an added bonus for him.
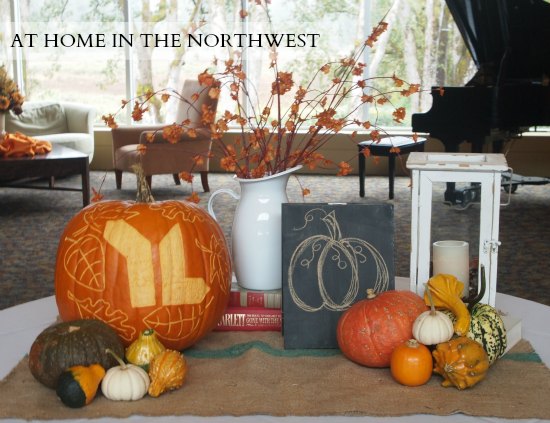
Dan used his dremel skills this year for the Young Life fundraiser a few weeks ago. You may have seen the pumpkin in my tabletop chalkboard tutorial post.
Today I'll give you a quick 'how to' on this pumpkin carving process.
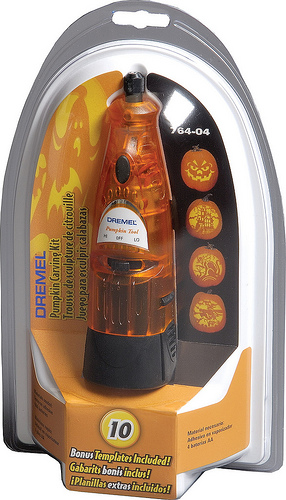
First, you will need a dremel. We picked up a pumpkin carving dremel at Lowes a few years ago. I believe it was around $20.
Next, pick the image you would like to see on your pumpkin and print it out. For ours, Dan used the Young Life logo.
Tack the paper onto the pumpkin. Then using a small, pointy object, poke holes on the outer edges of your image. Once that is complete, start in with your dremel! This will shave away the top layer of the pumpkin, exposing the lighter 'skin' underneath.
Dan added some fun leaves to the outer edges of the logo to create this beauty of a pumpkin!
You can even use a dremel on pumpkins for Thanksgiving! Wouldn't a turkey, pilgrim or even just a bunch of leaves look fun at your Thanksgiving table?!
What fun pumpkin design would you create?
jen
linking up to:
shabby nest, at the picket fence, chic on a shoestring decorating, it's a hodgepodge life, funky junk interiors, six sister stuff, nifty thrifty things, i heart naptime, the southern institute


